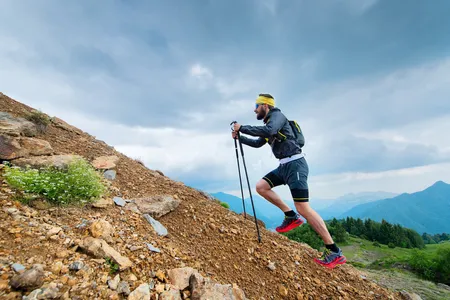
Choose the Right Route for Your Climb
- Route comparison support
- Local expert guidance
- Full support from start to summit
Kilimanjaro Planning Guides
- How difficult Kilimanjaro is
- Best time to climb Kilimanjaro
- How to acclimatize properly
OUR CATEGORIES
- Climbing
- About Tanzania
- Safari Tanzania
Machame vs Marangu: Which Kilimanjaro Route Is Better?

Table of Contents
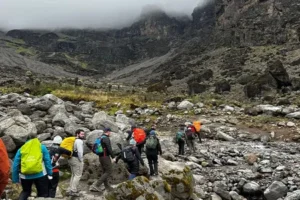
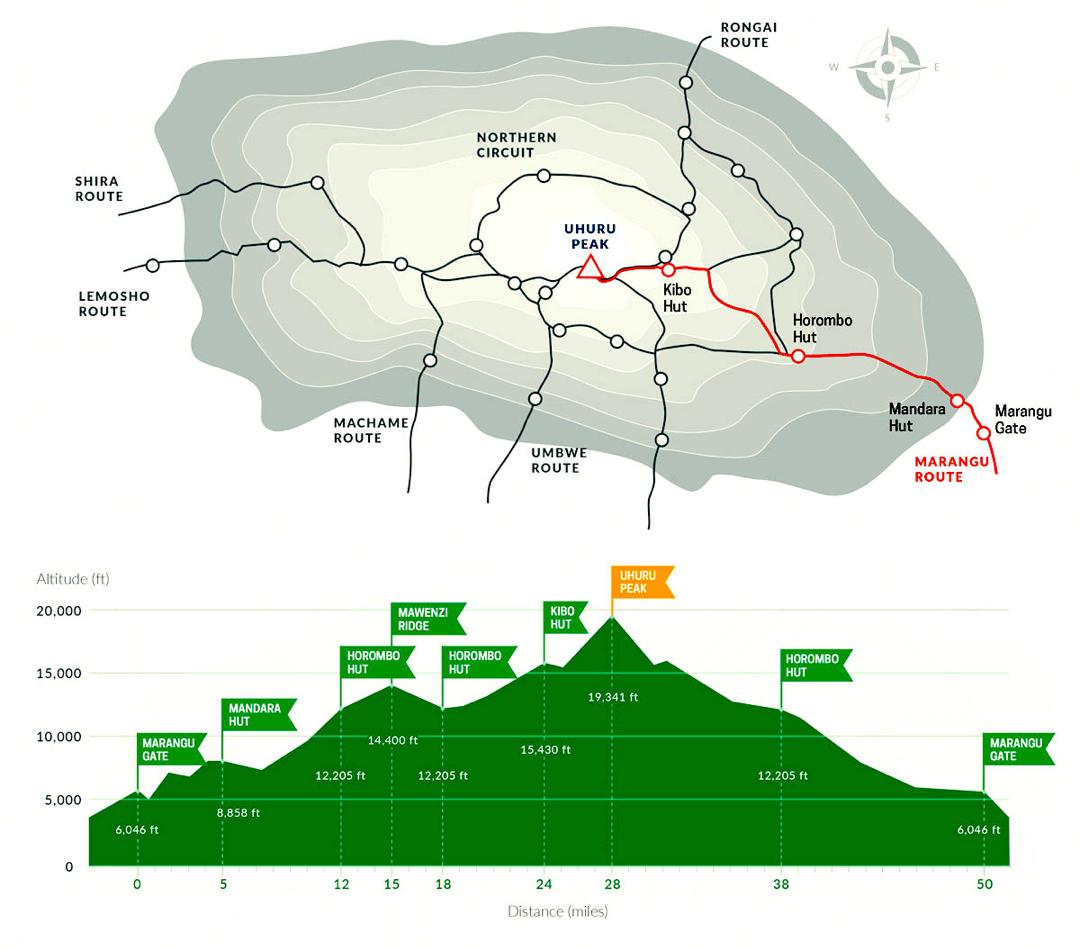
Overview of Machame and Marangu Routes
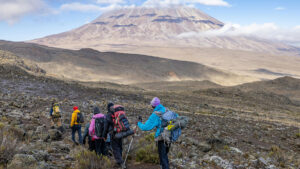
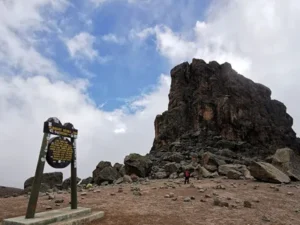
What Is the Machame Route Like?
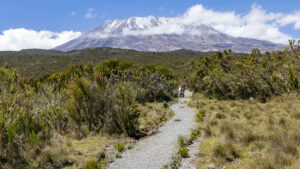
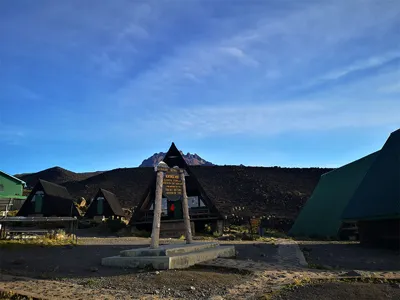
What Is the Marangu Route Like?
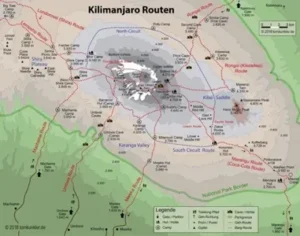
Key Differences Between Machame and Marangu
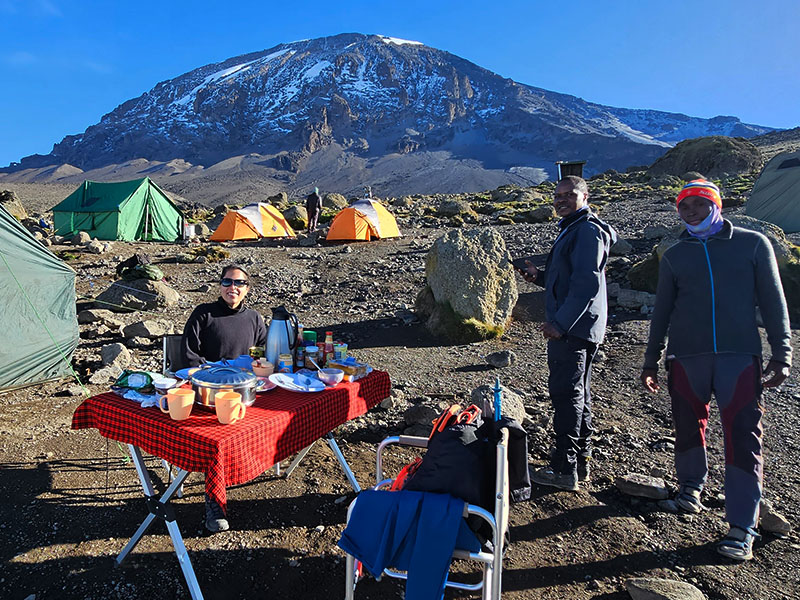
Accommodation — Tents vs Huts
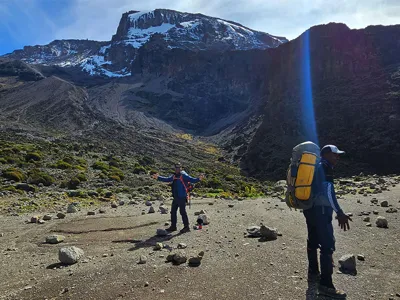
Acclimatization and Success Rate
Difficulty Level
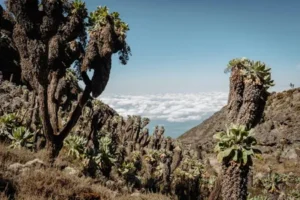
Scenery and Experience
Crowd Levels
Cost and Value

Machame vs Marangu — Which One Should You Choose?
Choose Machame If You Want a Higher Chance of Success
Choose Marangu If You Prefer Hut Accommodation
Choose Machame If You Want Better Scenery
Choose Marangu If You Want a Simpler, Shorter Route
How to Choose the Right Route for Your Kilimanjaro Climb
Machame vs Marangu Pros and Cons
Machame Pros
- Better acclimatization profile
- Higher success rate
- More scenic and varied
- Strong overall experience
Machame Cons
- Requires camping
- Slightly longer duration
- Can be physically demanding
Marangu Pros
- Hut accommodation
- Simpler and more direct route
- Shorter duration
Marangu Cons
- Lower success rate
- Limited acclimatization
- Less scenic
- Can feel crowded

Frequently Asked Questions About Machame vs Marangu
Is Machame better than Marangu for beginners?
Why does the Marangu Route have a lower summit success rate?
Are the huts on the Marangu Route comfortable enough?
Which route offers a better overall experience, Machame or Marangu?
Is Machame more difficult than Marangu in reality?
Choose the Right Route with Expert Guidance
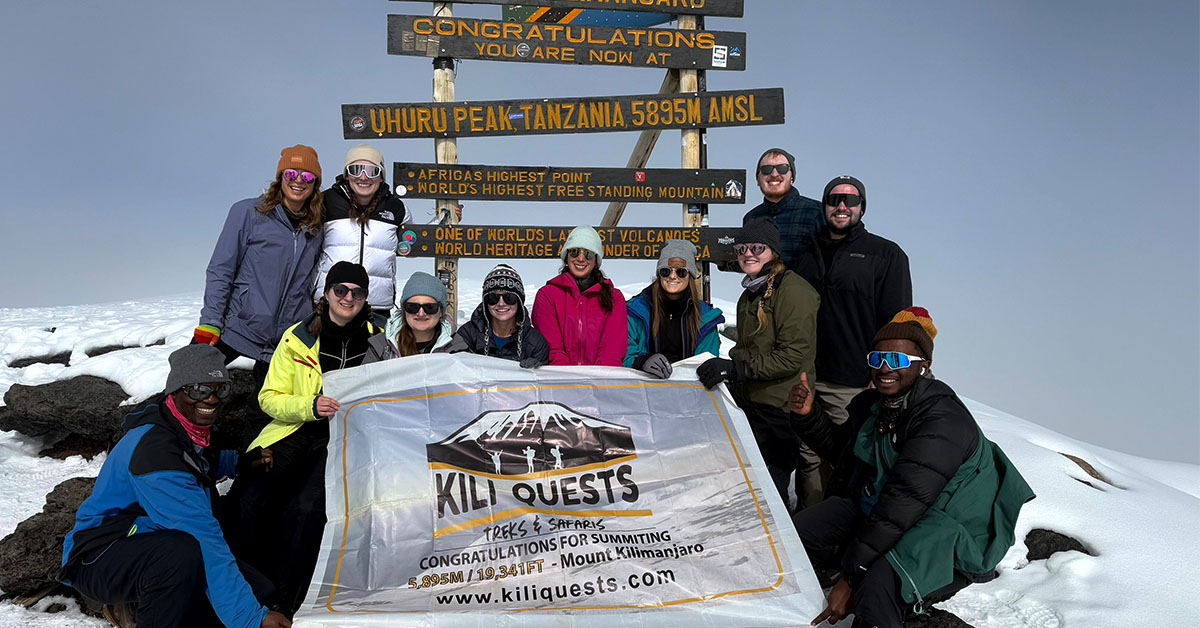
Climbing Kilimanjaro with Trusted Local Experts .Selecting the right route can make the difference between an average climb and a successful, unforgettable experience.At Kili Quests, we help you choose the route that fits your goals, comfort level, and timeline giving you the best chance of reaching Uhuru Peak.
Related Articles

Machame vs Marangu: Which Kilimanjaro Route Is Better?
Choose the Right Route for Your Climb Compare routes and get expert advice for your Kilimanjaro adventure. Route comparison support Local expert guidance Full support

Machame vs Lemosho: Which Kilimanjaro Route Is Better?
Choose the Right Route for Your Climb Compare routes and get expert advice before your climb. Route comparison support Local expert guidance Full support from

Kilimanjaro Climb Cost: Full Price Breakdown
Plan Your Kilimanjaro Climb Budget Climbing Kilimanjaro is a major investment choosing the right route and support team makes all the difference.At Kili Quests, we