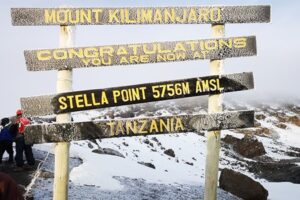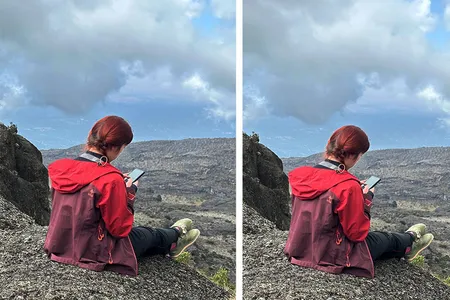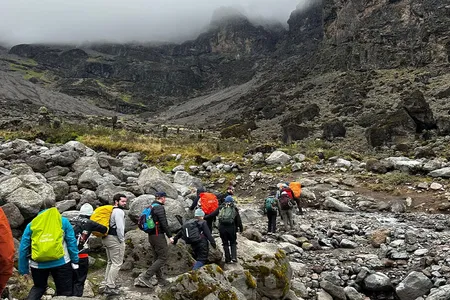


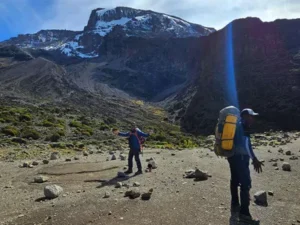
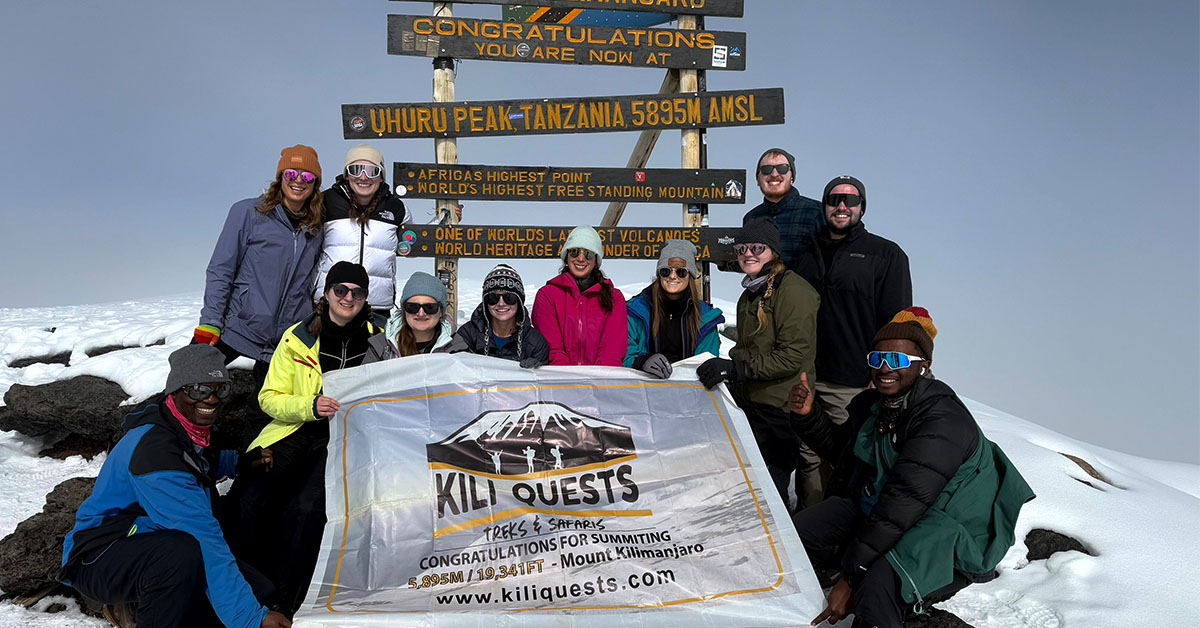
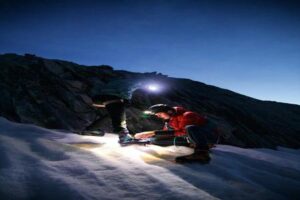
Altitude Sickness on Kilimanjaro: Symptoms & Causes
Climb Kilimanjaro Safely Altitude is the biggest challenge on Kilimanjaro — but with the right preparation and expert guidance, you can reach the summit safely
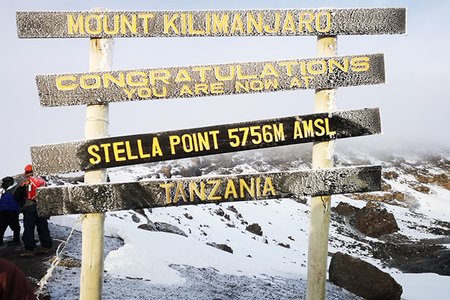
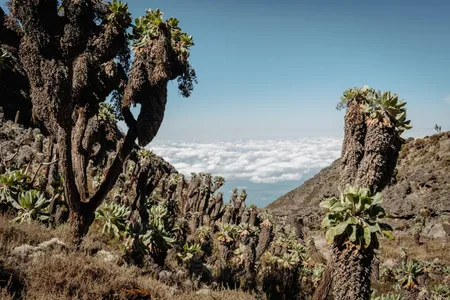
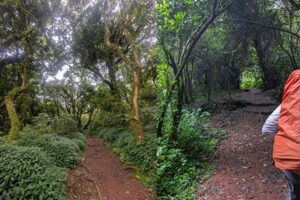
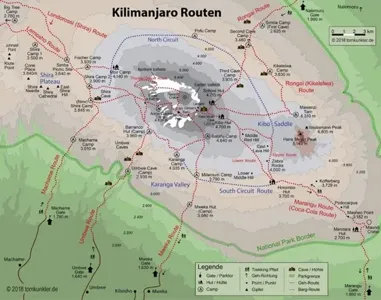
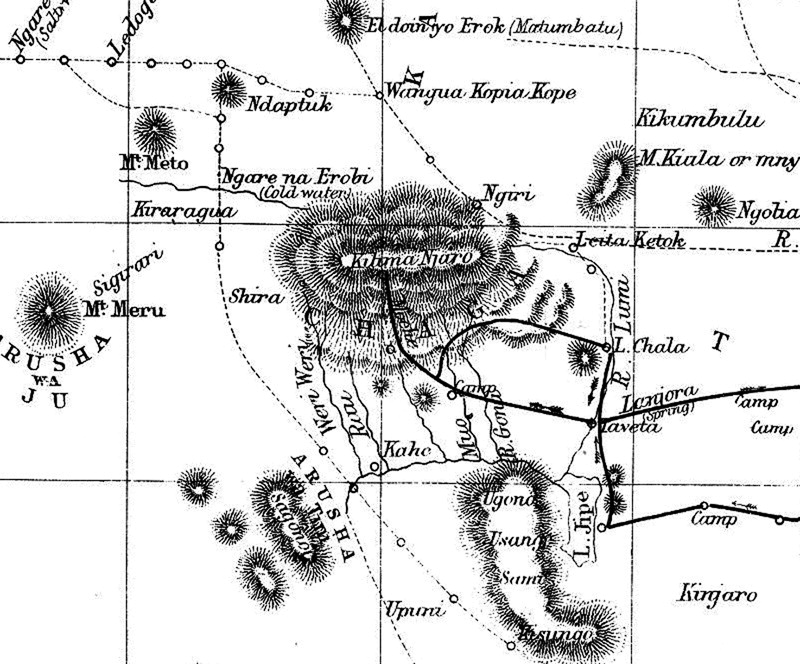
Lemosho Route: Scenic Kilimanjaro Trail
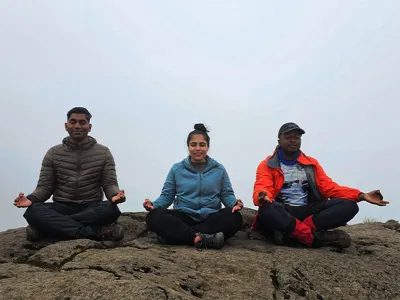
Reach the Summit with Confidence Your success depends on the right route, acclimatization, and expert guidance.We plan every climb for a safe summit. High success

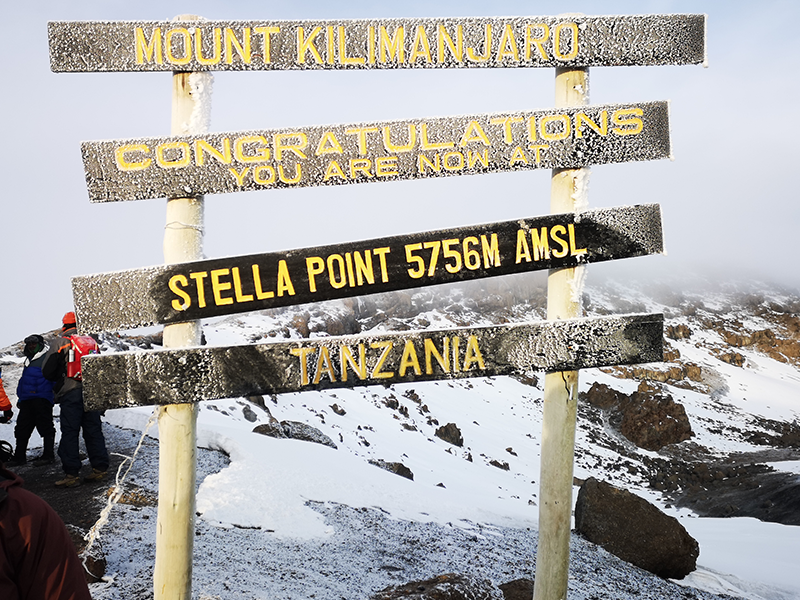
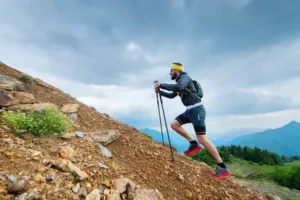
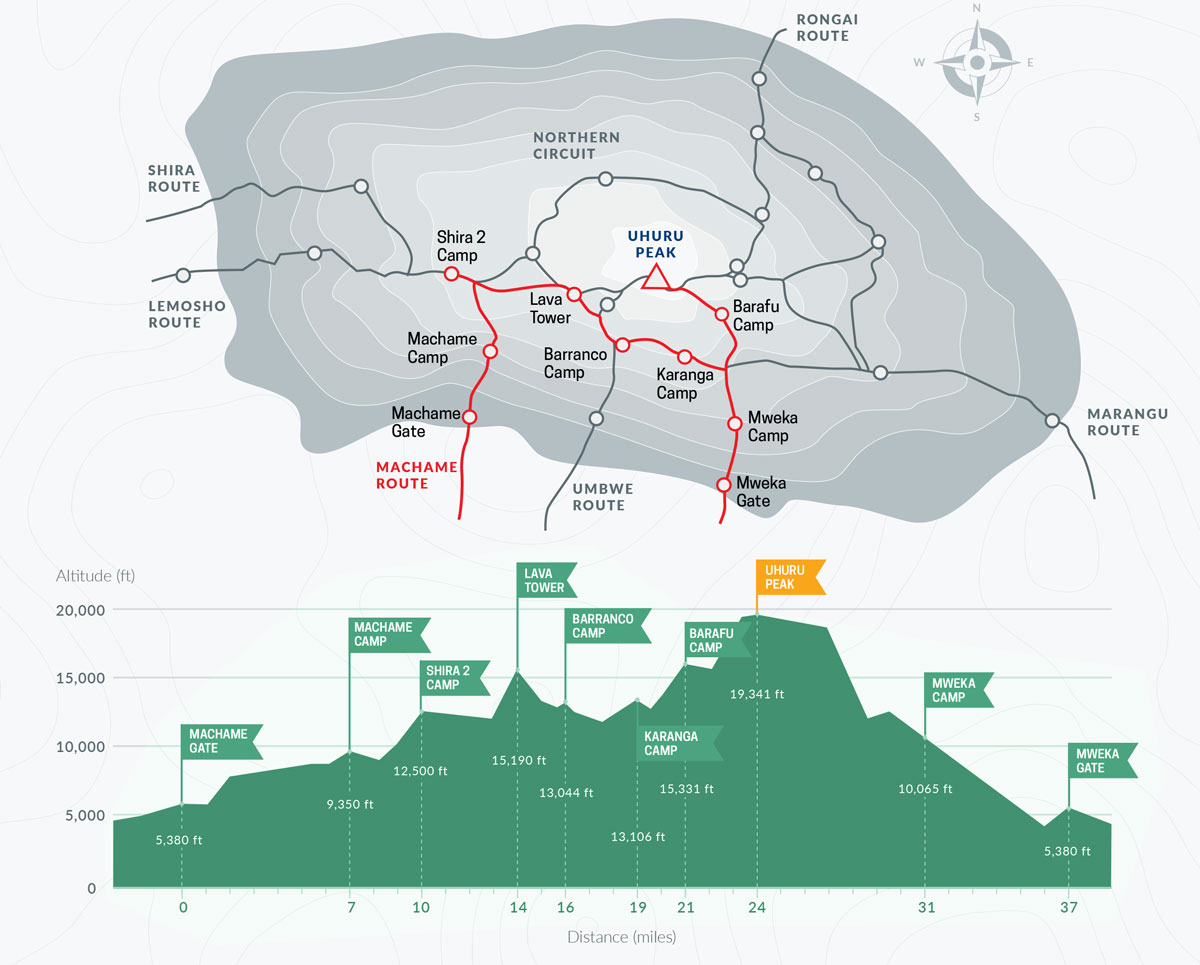
Machame vs Lemosho: Which Kilimanjaro Route Is Better?
Choose the Right Route for Your Climb Compare routes and get expert advice before your climb. Route comparison support Local expert guidance Full support from


")