Climb Kilimanjaro: 6-Week Fitness & Training Guide
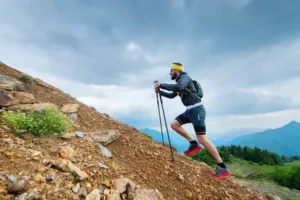
Table of Contents How to Train for Kilimanjaro: Your 6-Week Fitness Plan Climbing Mount Kilimanjaro is not just a trek — it’s a personal

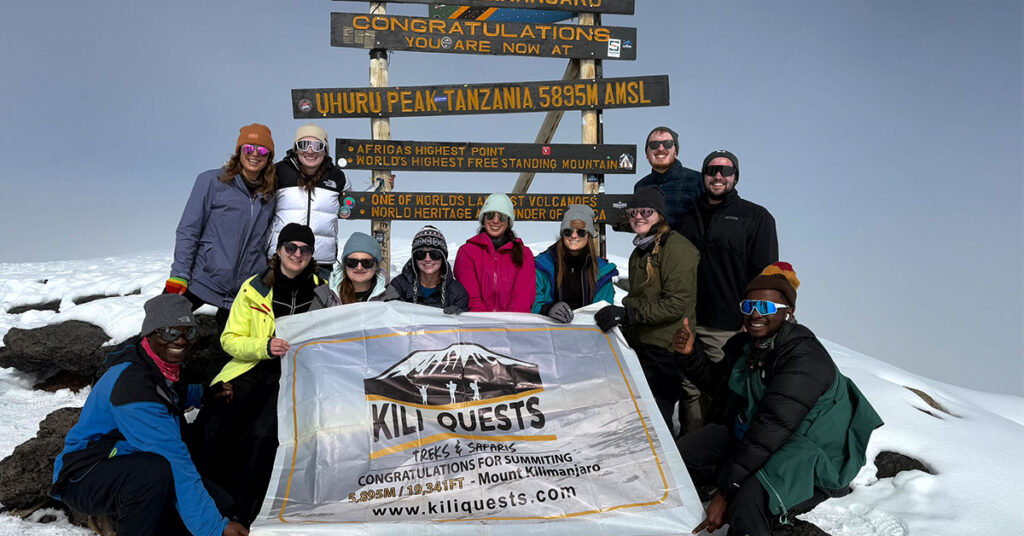
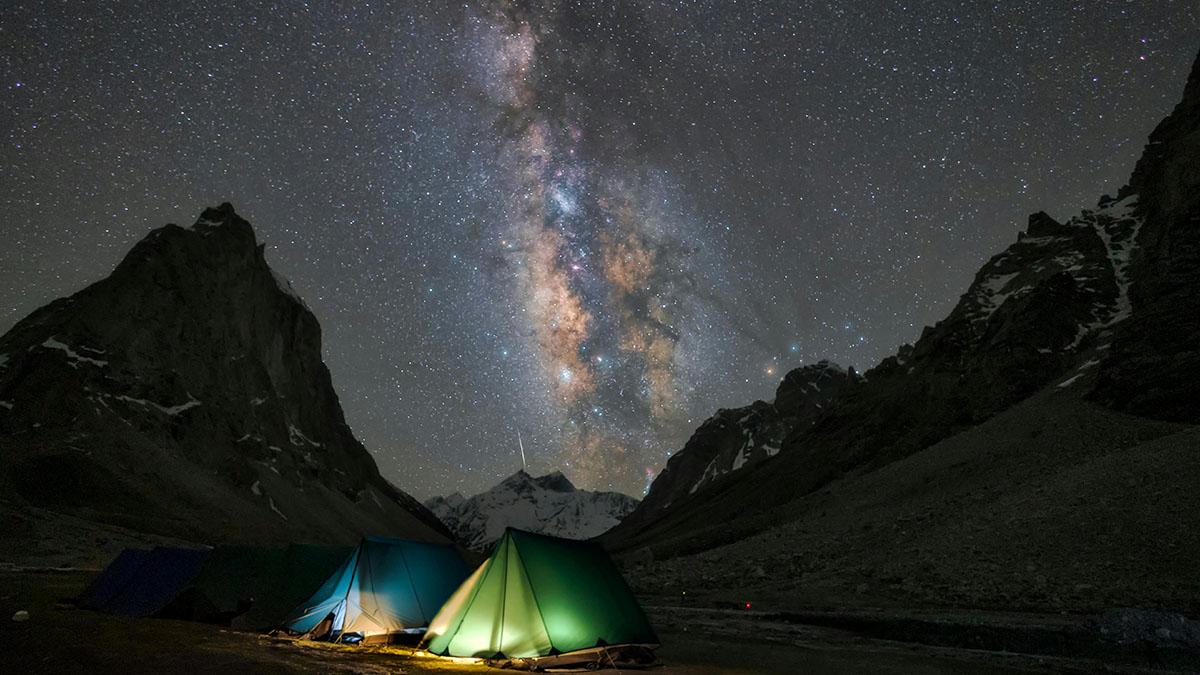
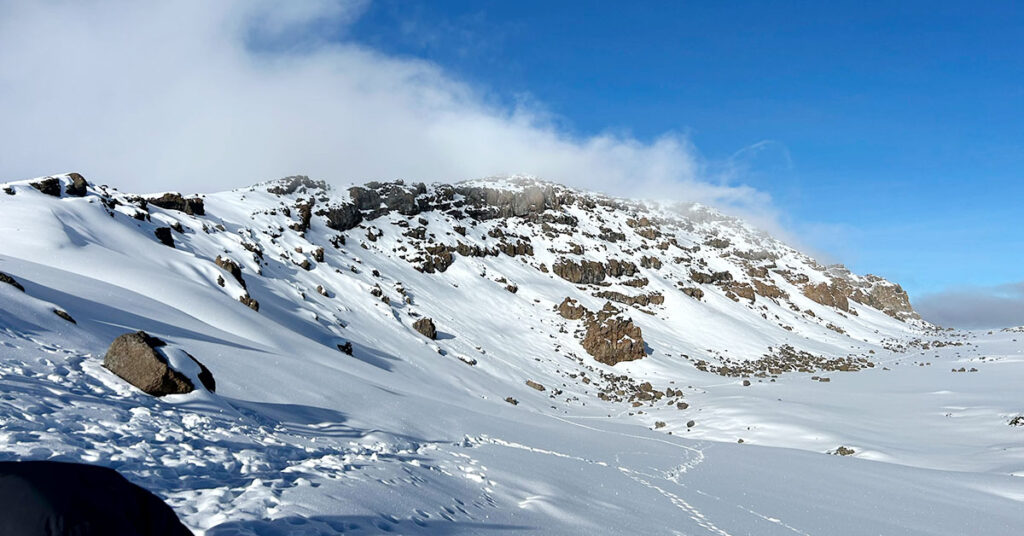
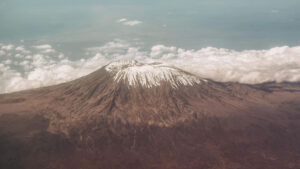
Climb Kilimanjaro Safely: High Altitude Sickness Guide
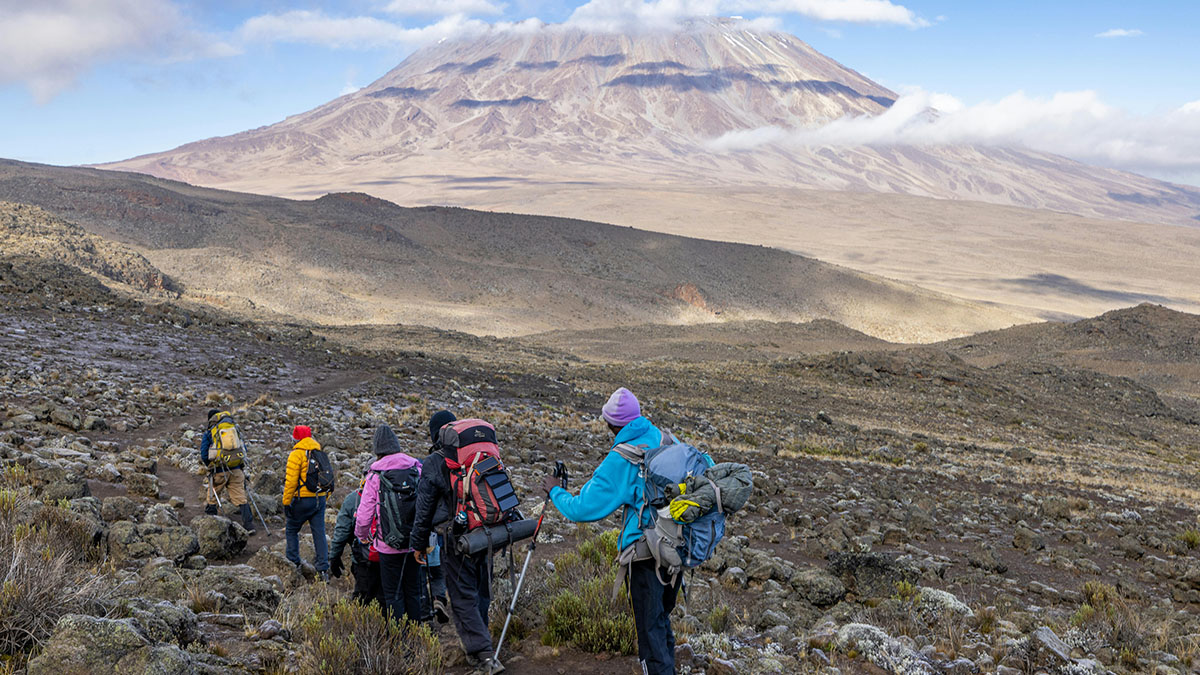
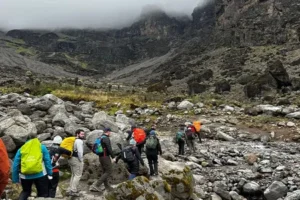
Table of Contents Altitude Sickness on Kilimanjaro: What You Need to Know Mount Kilimanjaro rises to 5,895 meters (19,341 ft) — a height where
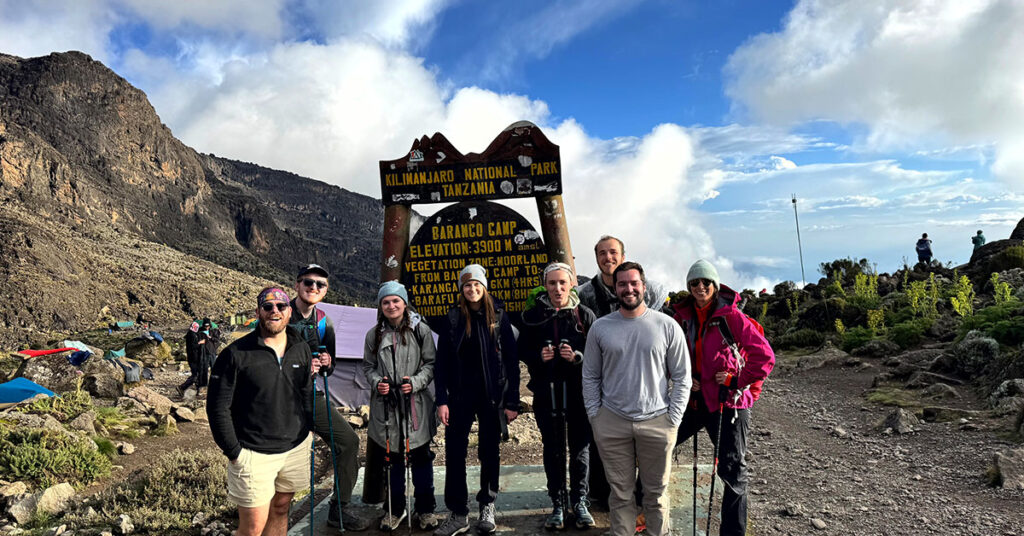
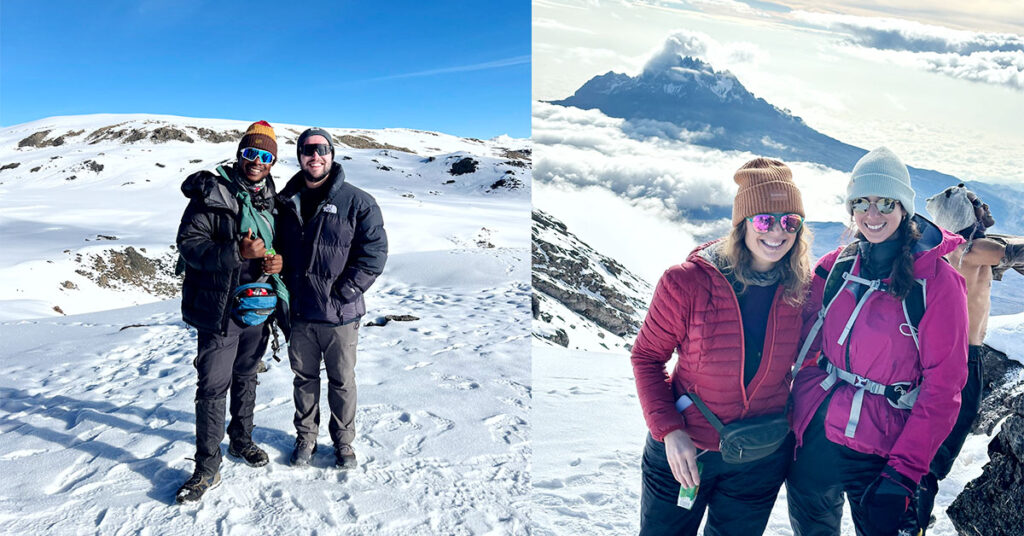
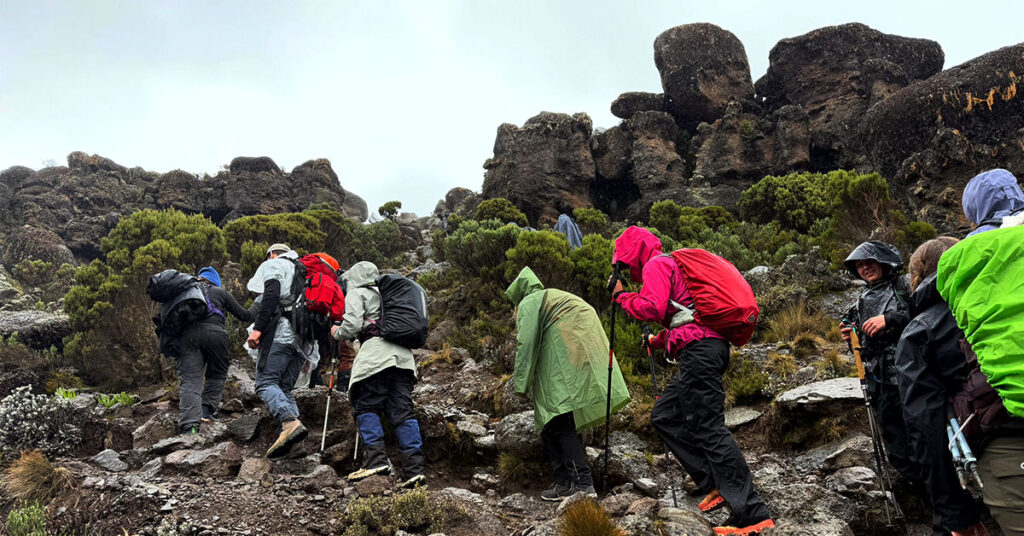
Beginner’s Guide to Climbing Kilimanjaro: First-Timer Tips
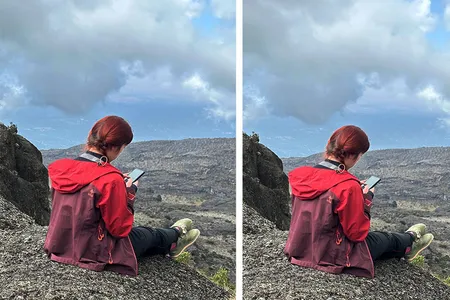
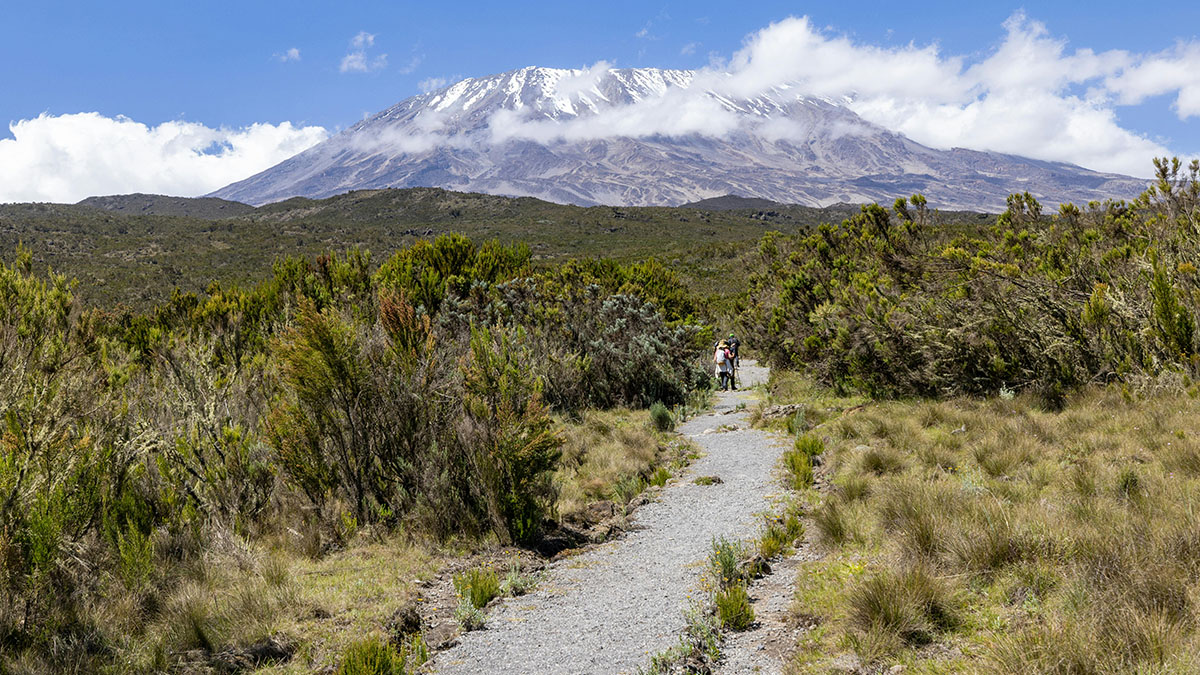
Table of Contents Beginner’s Guide to Climbing Kilimanjaro: FAQs for First-Time Trekkers Climbing Mount Kilimanjaro is a bucket-list adventure for many — and yes,