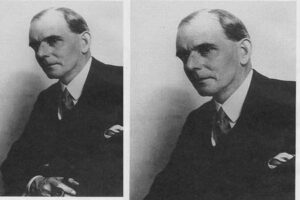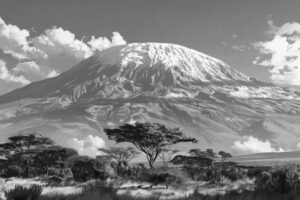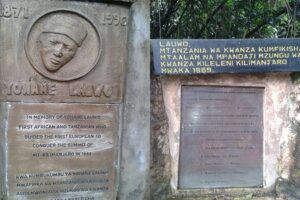


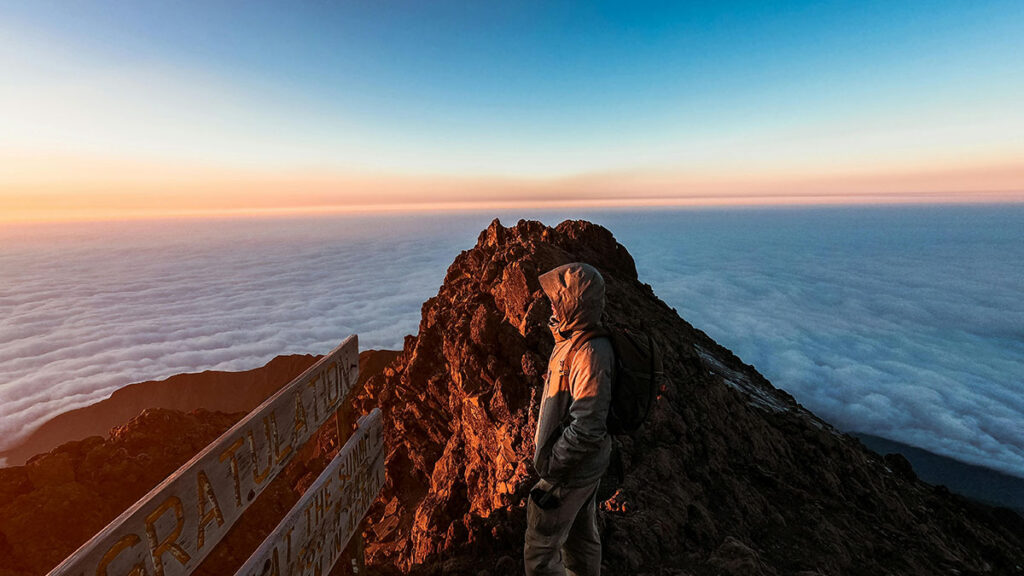

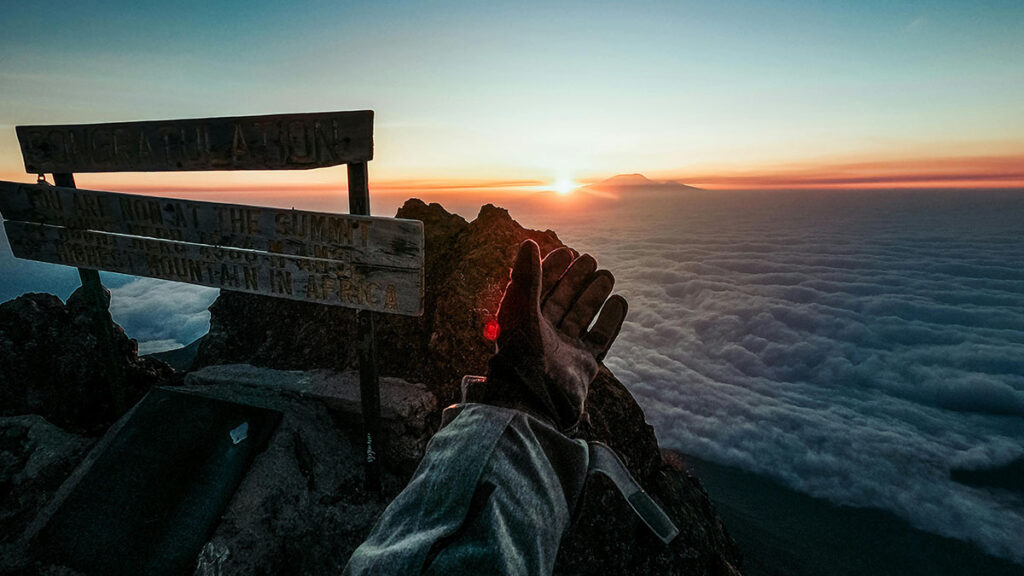


First Ascent of Mount Kilimanjaro: Hans Meyer in 1889
Who Was Hans Meyer? The First Ascent of Kilimanjaro | Kili Quests In 1889, a German geographer named Hans Meyer became the first recorded person
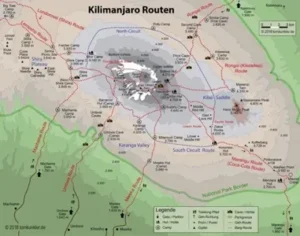
How to Choose the Best Kilimanjaro Tour Company
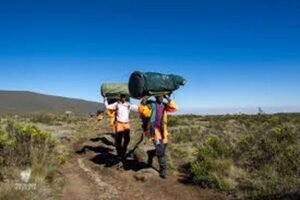
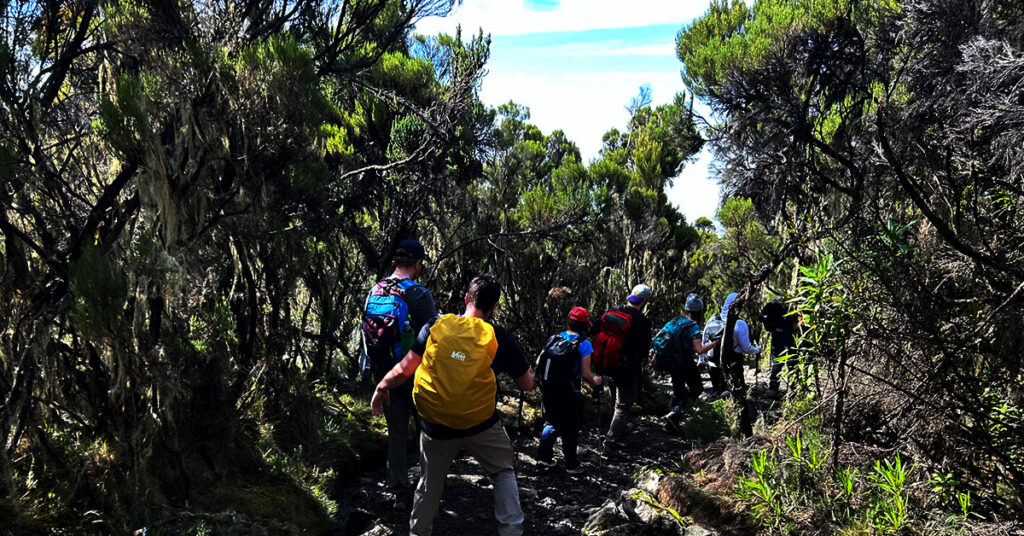
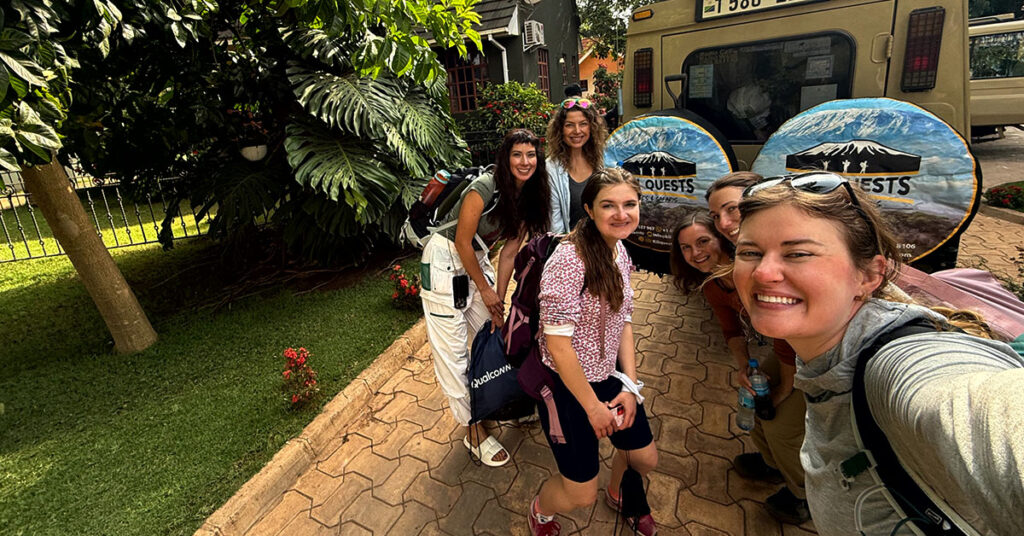
Table of Contents Why Choosing an Experienced Kilimanjaro Tour Company Matters for Your Safety and Success | Kili Quests Climbing Mount Kilimanjaro is one

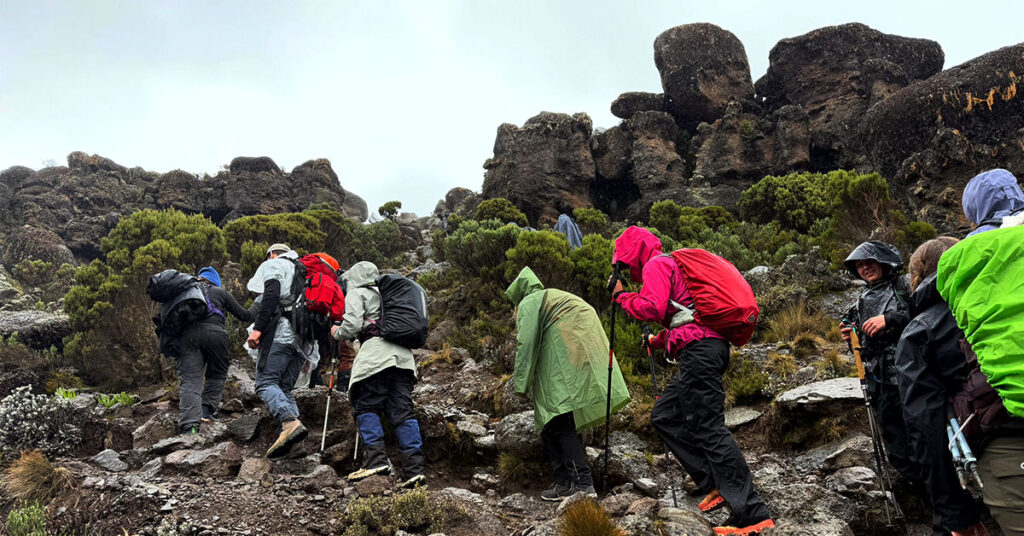
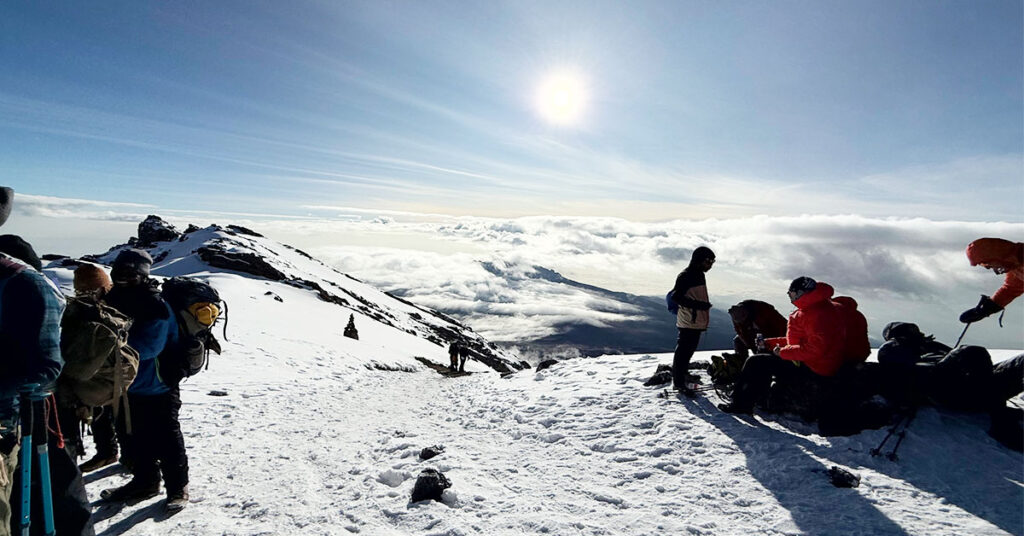
Altitude Sickness on Kilimanjaro: Symptoms & Causes
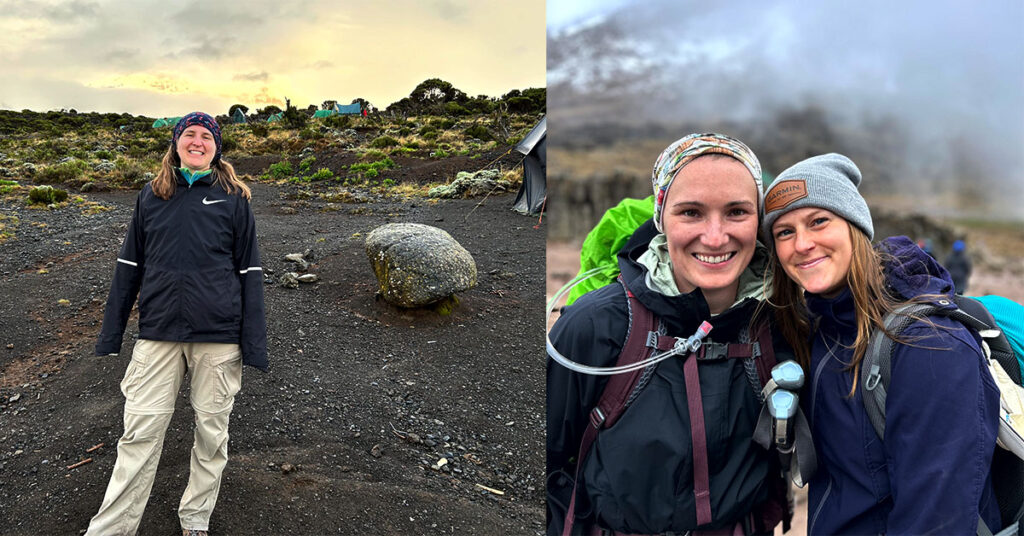
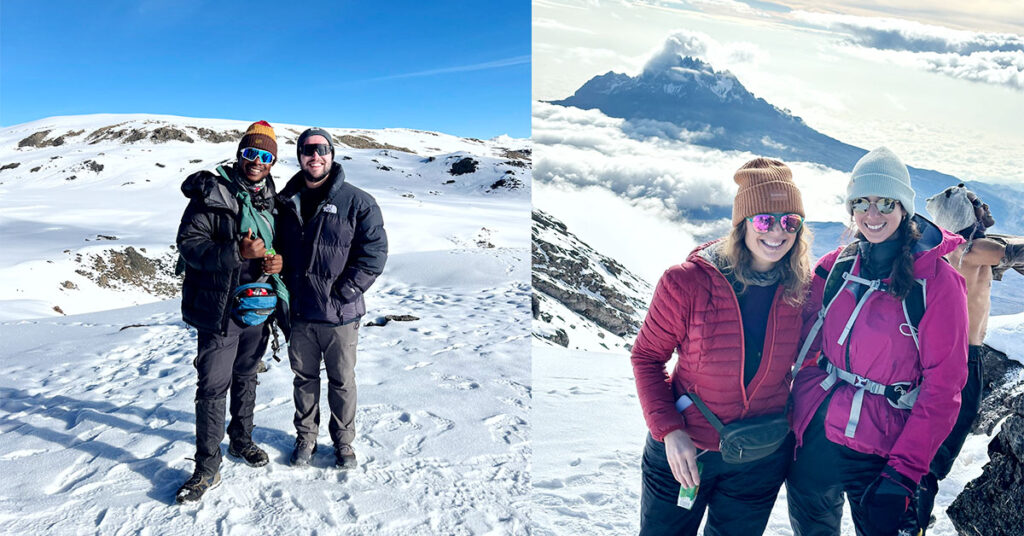
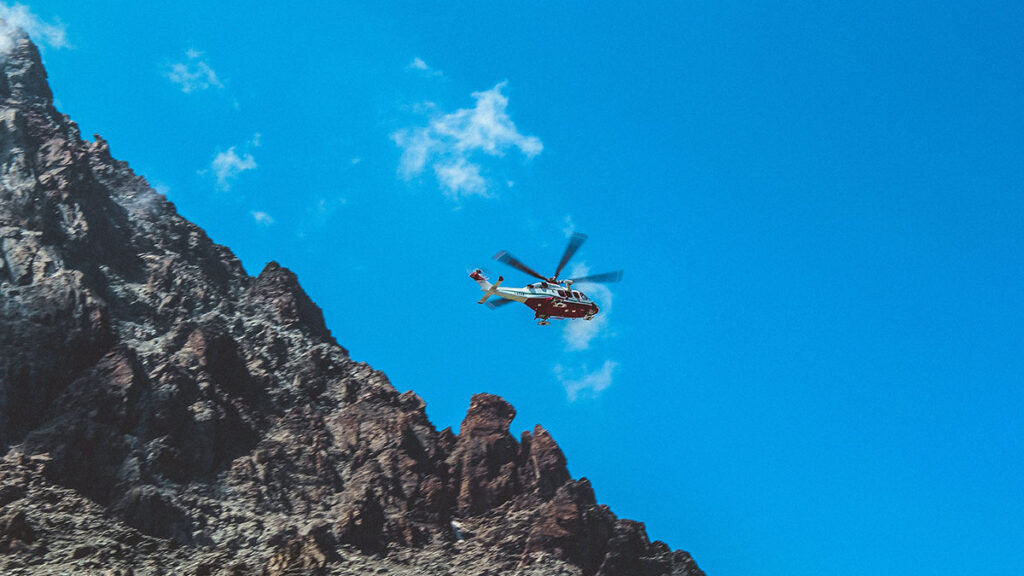
Climb Kilimanjaro Safely Altitude is the biggest challenge on Kilimanjaro — but with the right preparation and expert guidance, you can reach the summit safely